Container gardening is the practice of growing plants in pots. It’s ideal if you are limited on space and can be used to grow a wide variety of flowering plants, fruits and vegetables.
Beginners enjoy container gardening as it teaches many of the rudimentary skills more experienced gardeners use on larger plots.
Here we explain everything you need to know when starting out, including how to look after your containers and maintaining the right conditions for healthy plants.
Finding the right location
A key consideration when choosing the right spot for your container garden is light. Sun-hungry plants need at least six hours’ exposure every day, while shade-loving plants tend to do better in cool, shady spots.
If your container plants need lots of light, don’t forget that you can emulate outdoor conditions with grow lights. Compact lights such as the SunBlaster T5 or LUMii EnviroGro bulb provide plant-friendly light throughout the day so you can grow a variety of container plants wherever you like.

SunBlaster T5
|
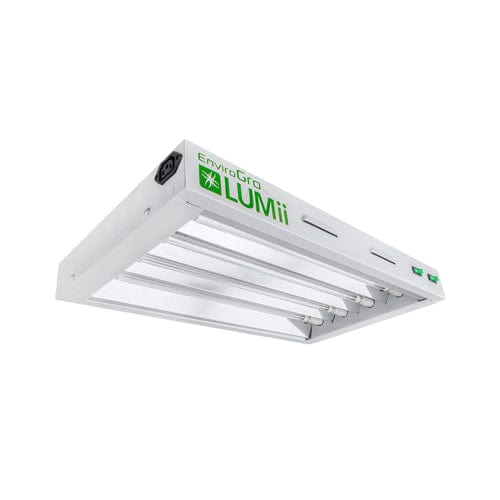
LUMii EnviroGro T5
|
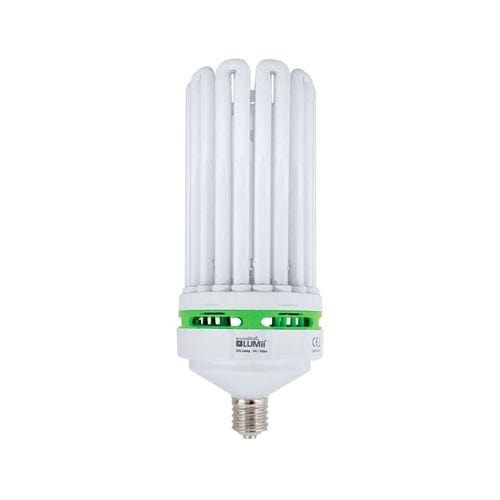
LUMii EnviroGro CFL
|
Plant containers
Plant containers come in a wide variety of shapes and sizes. Plastic pots are suitable for most container gardens. You can also find fabric pots and root pouches made from 100% recycled material. Fabric pots, or smart pots as they’re sometimes known, are great for growing container plants as they aerate the roots and encourage the absorption of oxygen and water.

JunglePot Air
|

Square Plastic Pot
|

Air-Pot
|
Container size
When selecting your container, think carefully about your plant’s root system and if it will have enough room to grow. Root-bound plants dry out quickly and mixed planting (growing multiple plants in the same pot) requires more space.
Large containers often prove more convenient than smaller pots as they hold on to moisture more effectively. Avoid planting slow-growing plants in large pots as the compost can become waterlogged.
Container drainage
Sufficient drainage is essential for container gardening. Without it, your soil can become waterlogged and your plants die. To achieve the best results, make sure the holes in your container are big enough for excess water to escape but not so large as to allow compost or potting media to wash away. Where possible, rest your pot on small bricks so the base doesn’t get blocked.
Self-watering planters
Keeping on top of watering can be a challenge. Plants require round-the-clock care and forgetting to top them up can affect how well they grow. Self-watering planters take the stress out of watering, especially smaller varieties, and are a practical way to keep plants healthy while you’re away.
Advanced systems, such as the Botanium, automatically water plants every three hours and double-walled containers, such as the Plastia Rosmarin, feature clever tanks that allow water to wick into the soil.

Botanium Self Watering Pot
|

Plastia Self Watering Rosmarin
|

Urbalive Raised Self Watering Planter
|
Using the right compost
Choosing the right soil is crucial for a successful container garden. And the most important thing to know is that potting soil, also called potting mix, potting media or potting substrate, doesn't contain any soil – it’s a soilless blend of plant-nourishing ingredients such as peat, vermiculite, compost and coir.
Gardeners use potting mix instead of garden soil as it’s lightweight, easy to handle and allows plants to absorb water and oxygen efficiently. Potting media also drains quickly, which is great for preventing compaction and curbing the growth of harmful bacteria and mould.

Biobizz All Mix
|

CANNA Terra Professional
|

Gold Label Special Mix
|
How to plant in pots
Step 1:
Before planting, prepare your potting mix and make sure your pots are in the right place – even lightweight plastic pots are heavy when they are full of soil. If you’re reusing old pots or recycling buckets, brush them out and wash each one with warm soapy water.
Step 2:
If the base of your container is drilled with large holes, place a few stones or a thin layer of gravel at the bottom to prevent your compost from washing away. Then start filling your container with potting soil, being sure to leave enough room at the top for your plant. Keep in mind that you’ll want to leave a one-inch gap between the top of the soil and the rim of the container.
Step 3:
Take your plant out of its original container and gently tease out the roots. Set it in your pot and add soil till the top of the root ball is covered. Gently pack in your potting soil around the plant then water well to settle any air pockets. Top up with soil if the roots are exposed.

SHOP NOW READ MORE


